Construction Photo Journal of New Two-Story Dome Home in Vermont
This photo journal depicts the construction of the dome shell for a house we recently completed in Vermont. It is an insider’s tour of the steps to construct a Monolithic Dome home. This home is a two-story dome with a 43-foot diameter. It sits on a 10-foot stemwall and is 25 feet tall in total.
The foundation was already prepped when our guys arrived with the Airform on July 17th. We inflated the Airform on July 19th, and construction of the dome shell was completed around August 6th.
The Airform for this house has some cool second-story extended augments that we can’t wait to see how they look when the exterior finishing is complete. We’ll post pictures of the finished house soon.
For now, scroll through the images to read about each part of the construction process.
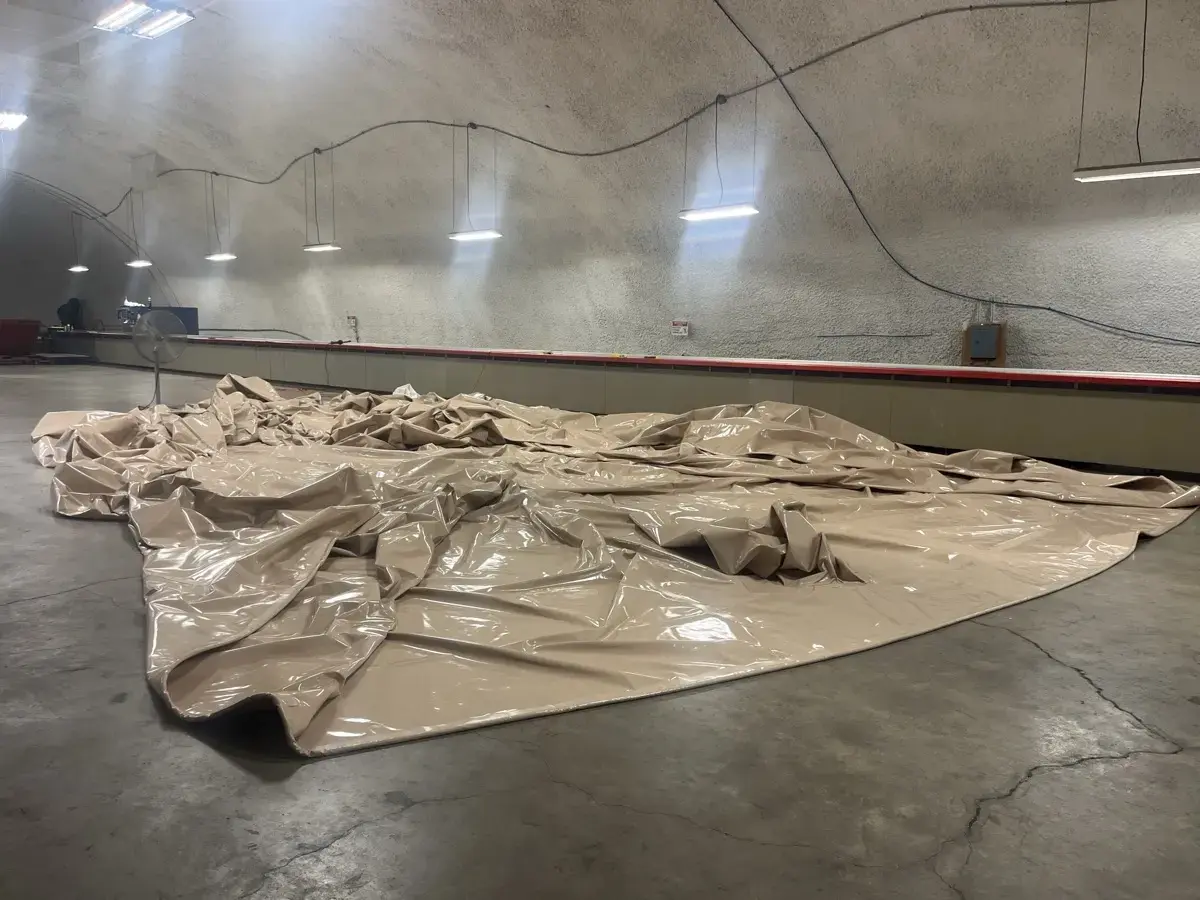
The completed Airform awaits its quality control inspection before being rolled up and shipped to the site from our manufacturing plant.
Mike South / Monolithic Commons / CC BY-SA 4.0
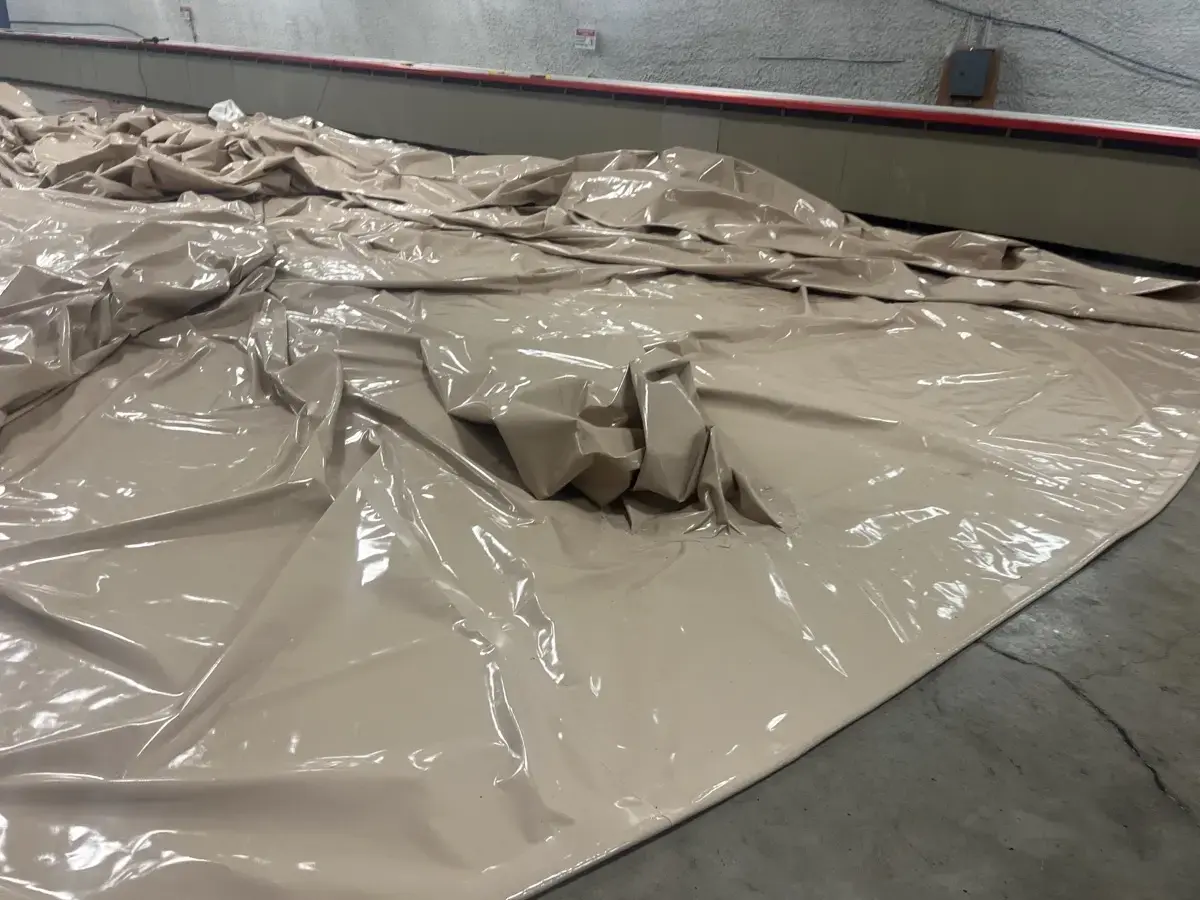
The bunched-up fabric at the center is the air tube, where the inflator fan will be attached.
Mike South / Monolithic Commons / CC BY-SA 4.0
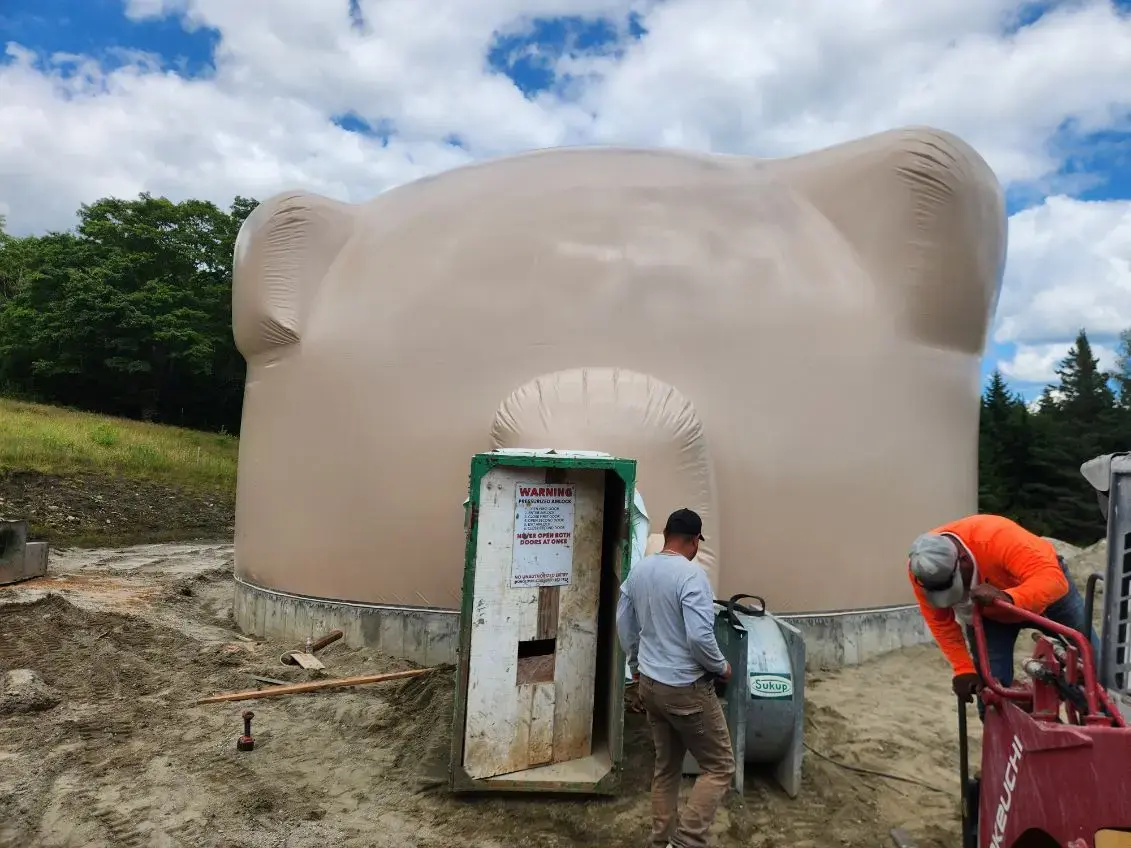
Airforms for houses are generally attached and inflated on the same day. They inflate fast! This airform is inflated at low pressure until the door bucks and spray stops are installed.
Mike South / Monolithic Commons / CC BY-SA 4.0
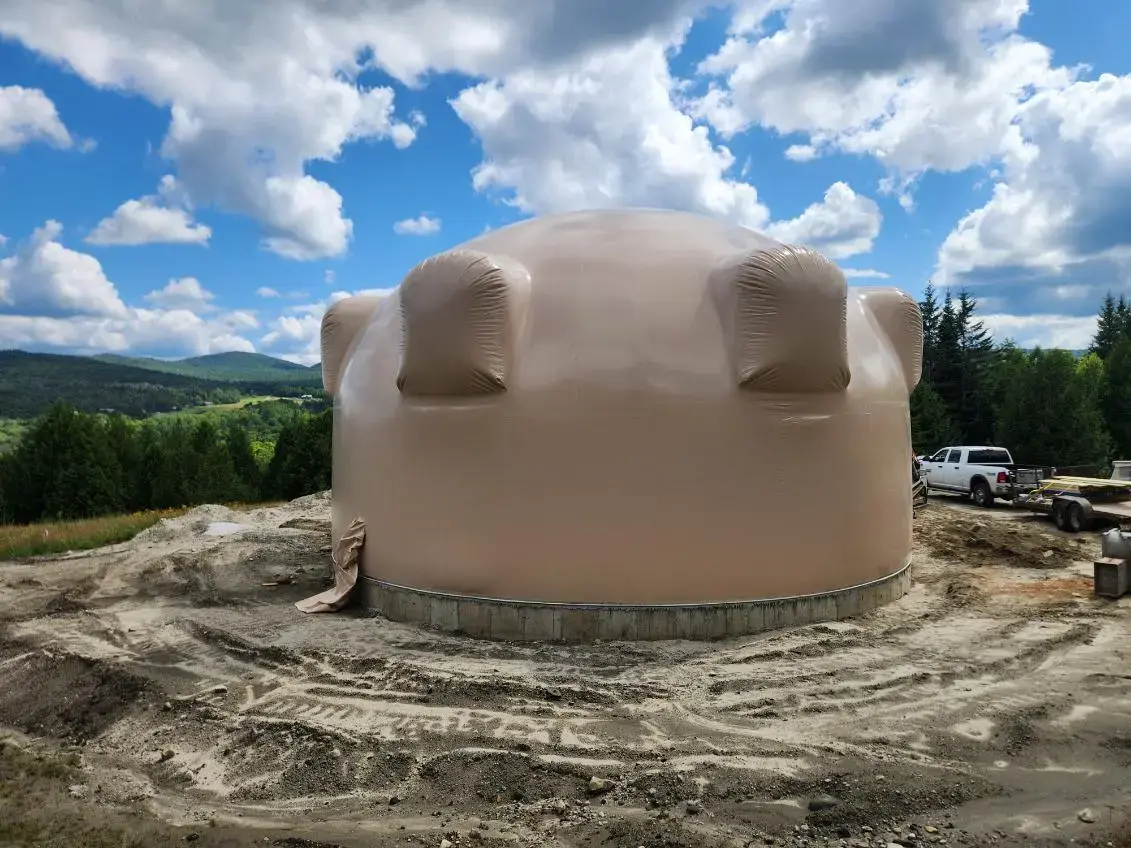
The views from the second-story rooms of this dome house will be spectacular.
Mike South / Monolithic Commons / CC BY-SA 4.0
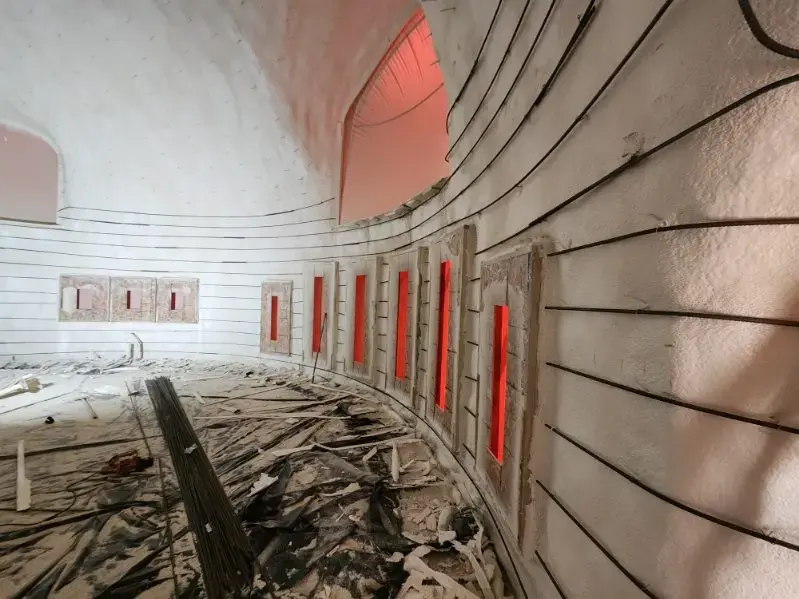
The polyurethane foam has been applied inside the dome, and the crew is attaching rebar. Door and window frames are installed on the bottom level, and the spray stops are installed for the top window augments. Domes are built top down instead of the usual bottom-up method. We inflate the roof first, then insulate, and then finish the structural part off with shotcrete.
Mike South / Monolithic Commons / CC BY-SA 4.0
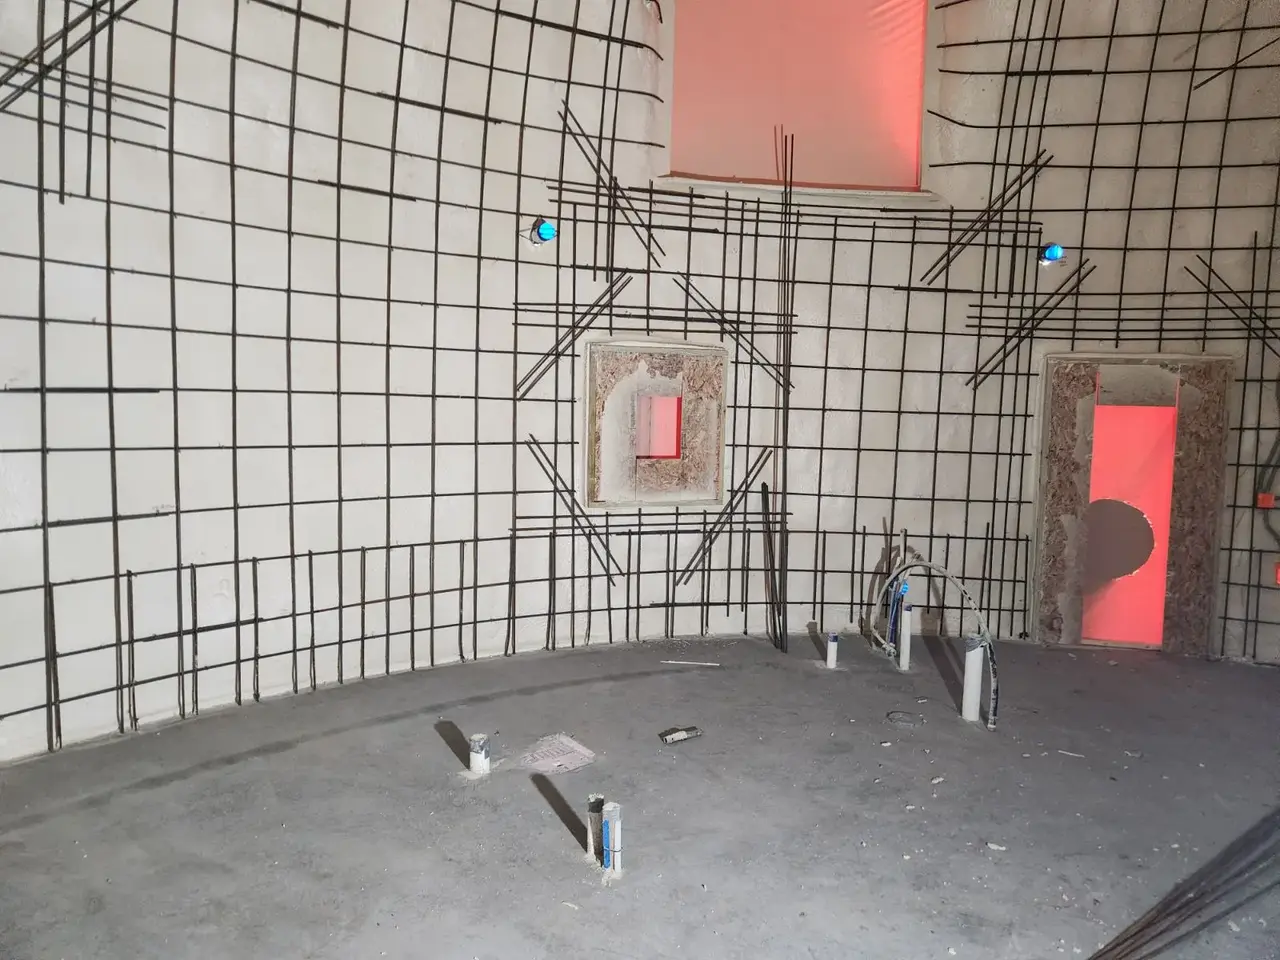
The rebar is nearly finished. Windows and doors get a few extra pieces of reinforcements around them.
Mike South / Monolithic Commons / CC BY-SA 4.0
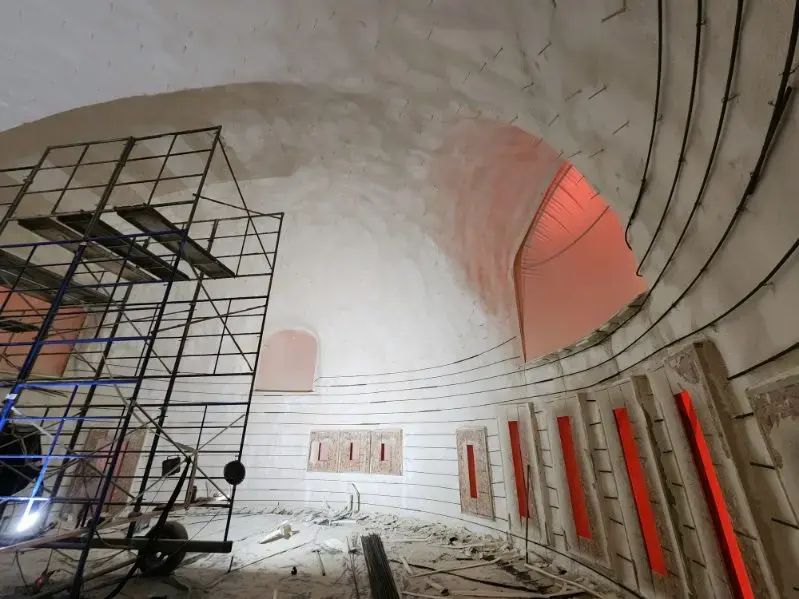
This wide-angle view shows the Paxis rotating scaffold we use to build domes.
Mike South / Monolithic Commons / CC BY-SA 4.0
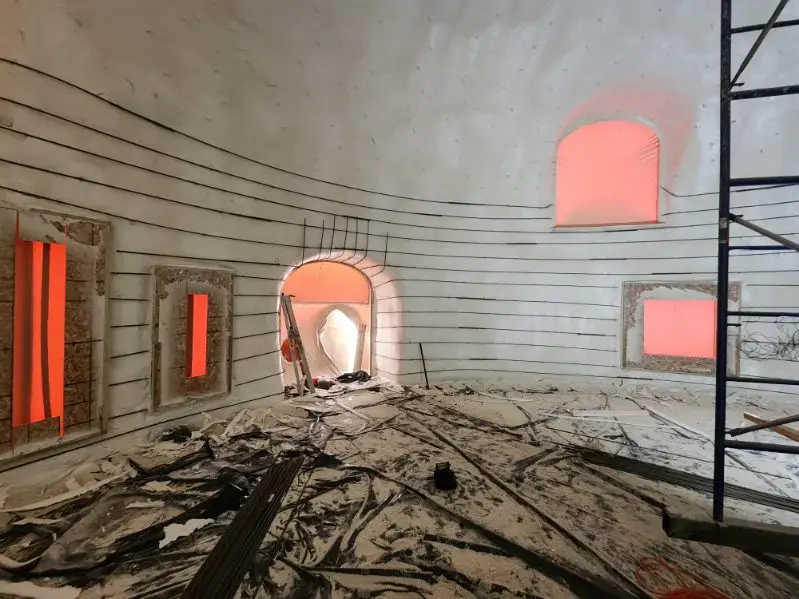
The large extended augment at the center will create an excellent overhang or eave to protect the front door from the elements.
Mike South / Monolithic Commons / CC BY-SA 4.0
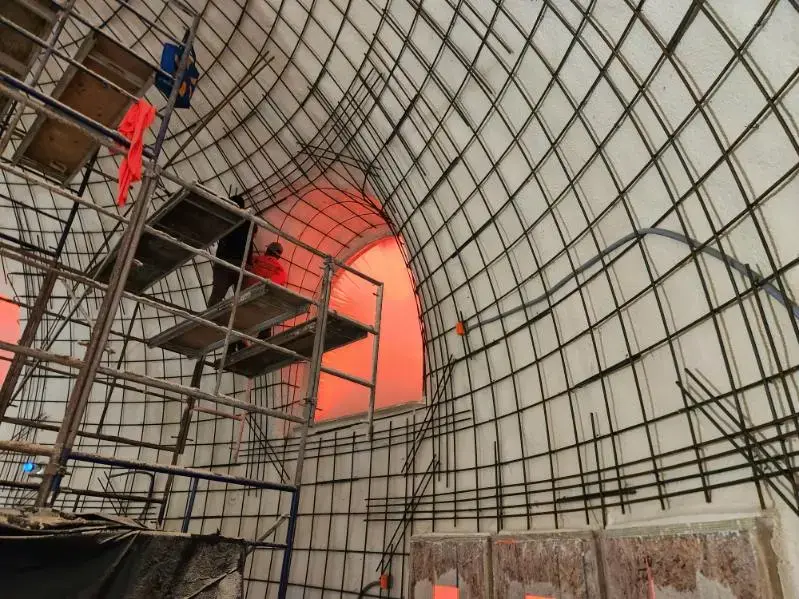
Finishing the last rebar pieces in the upstairs extended augments. Good rebar patterns make for smooth and strong Monolithic Domes.
Mike South / Monolithic Commons / CC BY-SA 4.0
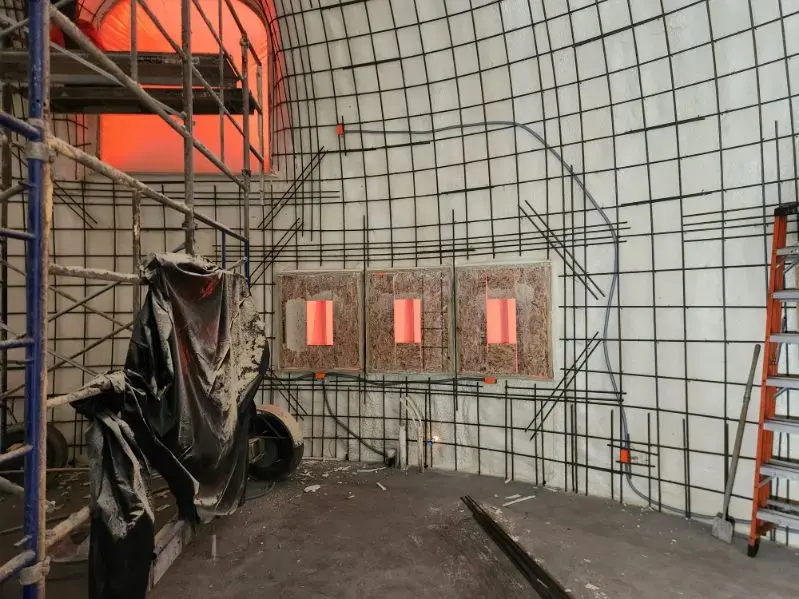
The reinforcing steel is in place, and we’ve added some electrical conduits. Electrical conduits can be run throughout the dome shell for plugs, switches, lights, speakers, or anything else you want mounted to the dome shell.
Mike South / Monolithic Commons / CC BY-SA 4.0
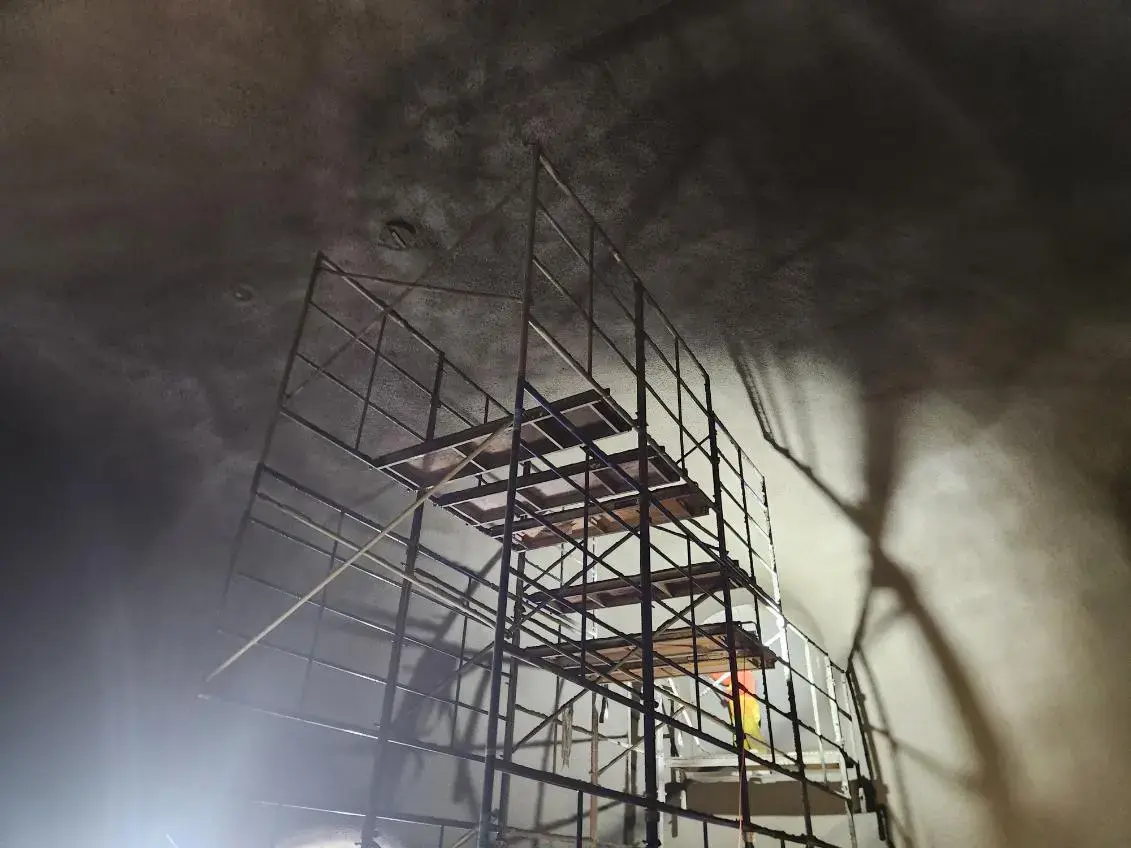
The concrete has all been sprayed. Our nozzlemen have become very good at creating an even-textured surface. After the shotcrete cures, the interior will receive two or three coats of paint.
Mike South / Monolithic Commons / CC BY-SA 4.0
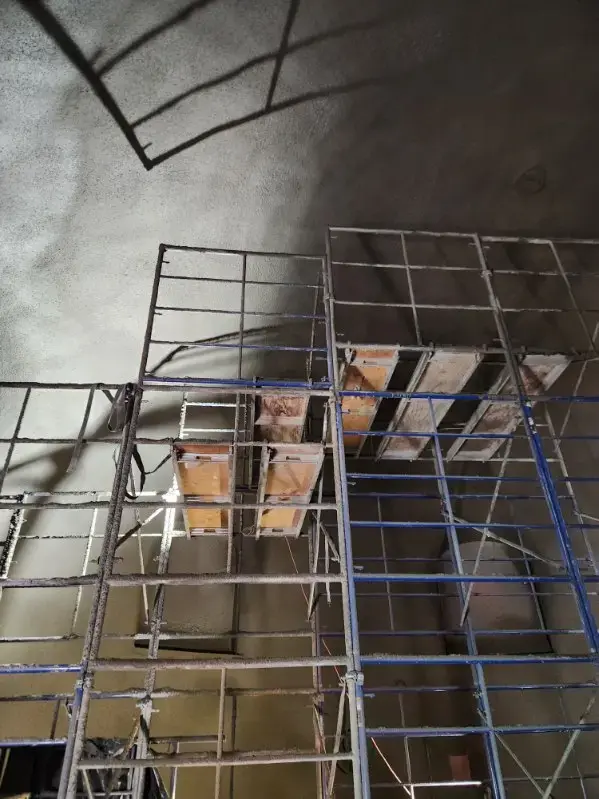
The Paxis Rotating Scaffold creates such a great working platform for the crews. The next step will be to clean it off, disassemble it, and load it back onto the trailer for the next project.
Mike South / Monolithic Commons / CC BY-SA 4.0